A Teacher, a Carpenter, and a Programmer Walk into a Yurt
by jean-paul | February 06, 2012 at 07:48 PM | categories: yurt, building, vermont | View CommentsWherein our adventures perform some more living-arrangement related construction. However, I know better than to bury the lead. Hence, first, the conclusion:

Over the weekend, I finished preparing the rafters and Jericho did some more sewing for the wall canvas.


The last sewing for the roof canvas can't be done until we fit that piece of canvas to our actual roof and measure the position of the final seam. This requires setting up the yurt.
So, first we set up and leveled the platform.

Then we expanded the wall pieces (khana) and lashed them together and set them on the platform.


With all four wall pieces up, we made room for a door.

And then the really wicked part, Jim held up the roof ring (toono) while we stuck rafters into it.

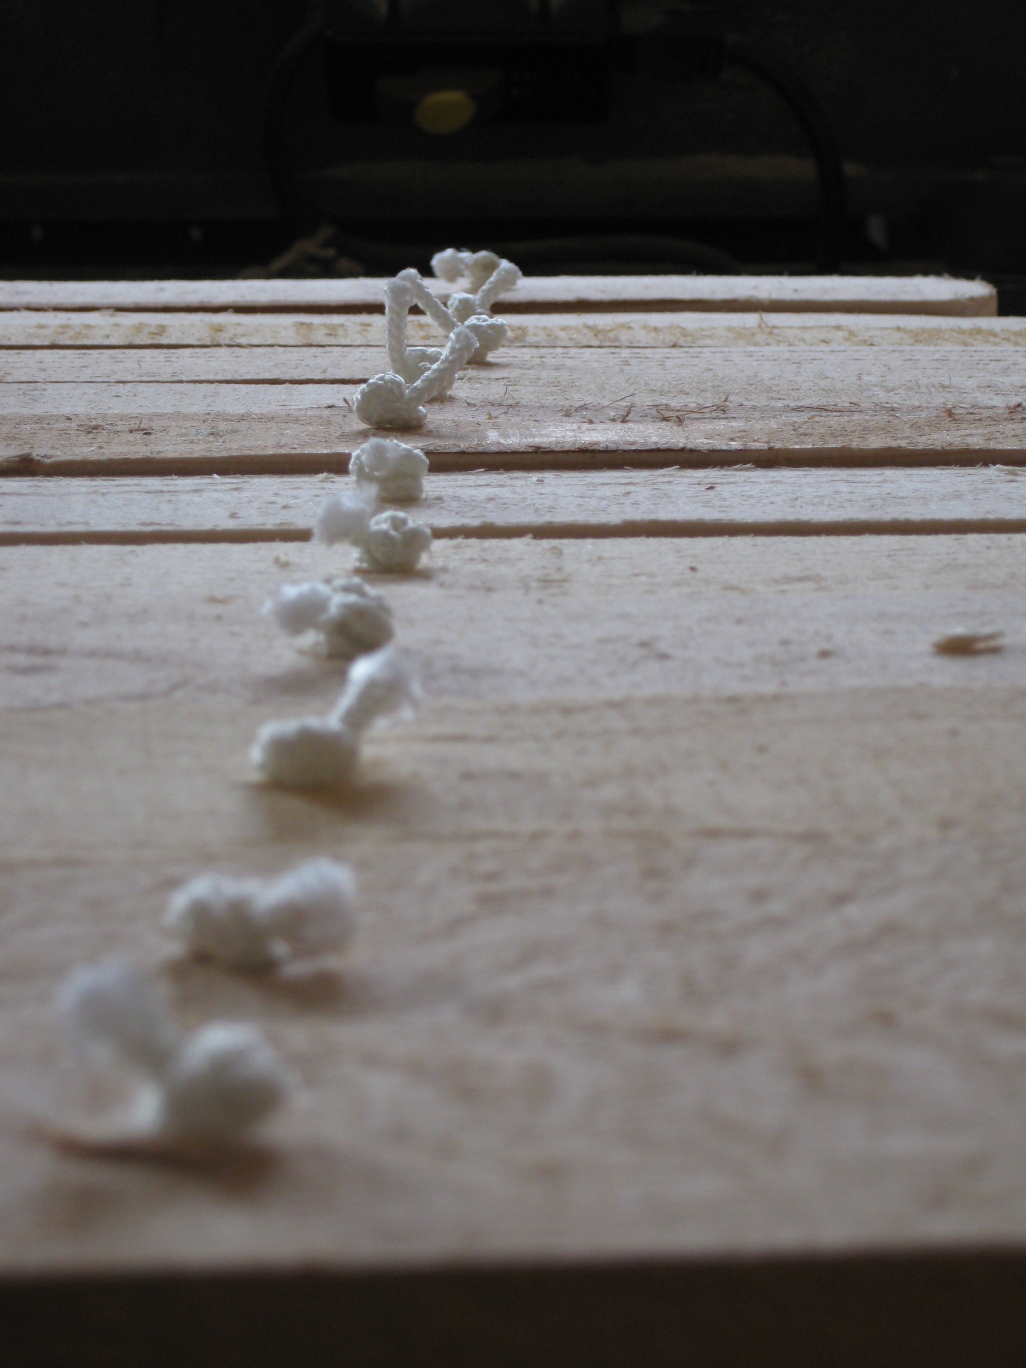
Those loops you saw in the first picture go over the ends of the khana and the tension cable (1/4" steel, rated to 1400 pounds) holds the wall and the rafters in place.
And so on, forty-some more times.

This ends up creating a pretty strong structure, apparently.

Unfortunately, once the rafters were all in place, a space monster warped in and ate Jericho.

After that, we could fit the canvas to the roof, which took some fiddling, and a poorly timed gust of wind didn't help. We managed it, though (you did see the first picture, right?).
There's some more sewing to do and a few remaining details to sort out for the door and the toono. Those things will probably get sorted out this week or when we set the yurt up in Maine.
Back From California
by jean-paul | February 03, 2012 at 08:02 PM | categories: yurt, building, vermont | View CommentsWhile Jericho wrestled with that mountain of canvas, I had a great week in California. I finally managed to find some redwoods to look at. I also met a lot of great people, got some good work done, and (implausibly) met up with a couple friends from Boston.

San Francisco is a lot of fun, but I don't love everything about it.

It was really great to get back to Vermont and back to work on the yurt. Before I left, we had just finished preliminary assembly of the walls (khana). These four wood lattices are each made up of 34 one by twos varying in length from two feet to nine and a half feet. The lattice pieces are secured to each other with a piece of rope at most of the intersections. We first laid out the pieces to ensure they fit.

And then tied them together at each end.


This was more cold finger work, since the expanded lattice doesn't fit indoors. Fortunately, with rope at all the ends, the lattice can be collapsed.
In this more compact form, we brought them into Jim's workshop and got to work tying rope at the remaining (approximately) four hundred intersections. Joan lent us a hand here and finished off one entire khana. Jericho and I finished the remaining three pieces today.

I've certainly never before tied so many knots at once. My fingers are ready for a break. But we're not done yet. Tomorrow I need to finish the rafters and Jericho needs to finish the canvas for the walls, so that on Monday we can set it all up and fit the canvas for the roof. More about that later, though.
Good night from the NEK!
Mountains of Canvas
by jericho | February 01, 2012 at 11:36 AM | categories: yurt, building, vermont | View CommentsIt's been quite a busy week up here in the NEK. Actually I guess it has been more like a week and a half since I last posted. Oops! It's hard to keep up with it when there is so much yurt building to do!
Jean-Paul is in CA for work this week, so I decided to try tackling the canvas since that is something that is mostly a one person job. I spent a long time on the phone and the internet a few weeks back trying to figure out the best type of canvas to get and also to find a source for that canvas. The book that we have recommends 12oz waterproofed, mildew resistant, fire retardant cotton canvas, but says that 10 or 15oz would work as well. However, a friend who lived in a yurt for a while recommended straight up untreated cotton canvas for better breathability. She said that when the untreated canvas gets wet for the first time the fibers will swell and the fabric will be naturally waterproofed. After calling around and finally getting in touch with the people who treat most of the cotton canvas that is on the market I found out that the waterproofing is a mix of paraffin and a flourocarbon; the fire retardant is "phosphorous based"; and the mildew resistance is something that is not a heavy metal (I was assured that they no longer use mercury.What a relief.). Jean-Paul then did a little research and found out that flourocarbons tend to cause cancer and we decided that perhaps we would try our luck with untreated canvas after all. So...
I ordered a 100 yard roll of 10oz army duck canvas from Top Value Fabrics. We only need about 50 yards (because this fabric is 60 inches wide), but our options were 100 yards for $330 or 50 yards for $250 so it seemed to make more sense to buy the 100 and then have extra for a replacement cover, patches, etc. The roll is ridiculously heavy though. Dad and I managed to hang it up in the garage as you can see below, but I thought we might be in the running for a Darwin award: "Father and daughter squashed by giant roll of canvas".


I initially thought that I would be using my great grandmother's sewing machine for this project since it is an old Singer (so beautiful!) and has done some heavy duty work in the past. Sadly, the thread that I got (V-92 bonded polyester) is too thick for the machine and the bobbin wouldn't work right. Before panicking I decided to try out my own modern machine and it worked!! Phew.


Working with all of this canvas is quite a challenge. The name of this post doesn't even begin to describe it. Last night, I finished all of the sewing that I can do on the roof until we have the frame up and I can fit it exactly. It felt a little strange though because I finished it, but there isn't enough room in the house to spread it out and look at it so I just have to hope that I put together all of the pieces properly and my seams are facing the right direction. Considering the amount of time that I thought about each pieces before I sewed it (my brain seriously hurt), I am fairly confident that it will be fine, but I am looking forward to trying it out next week!
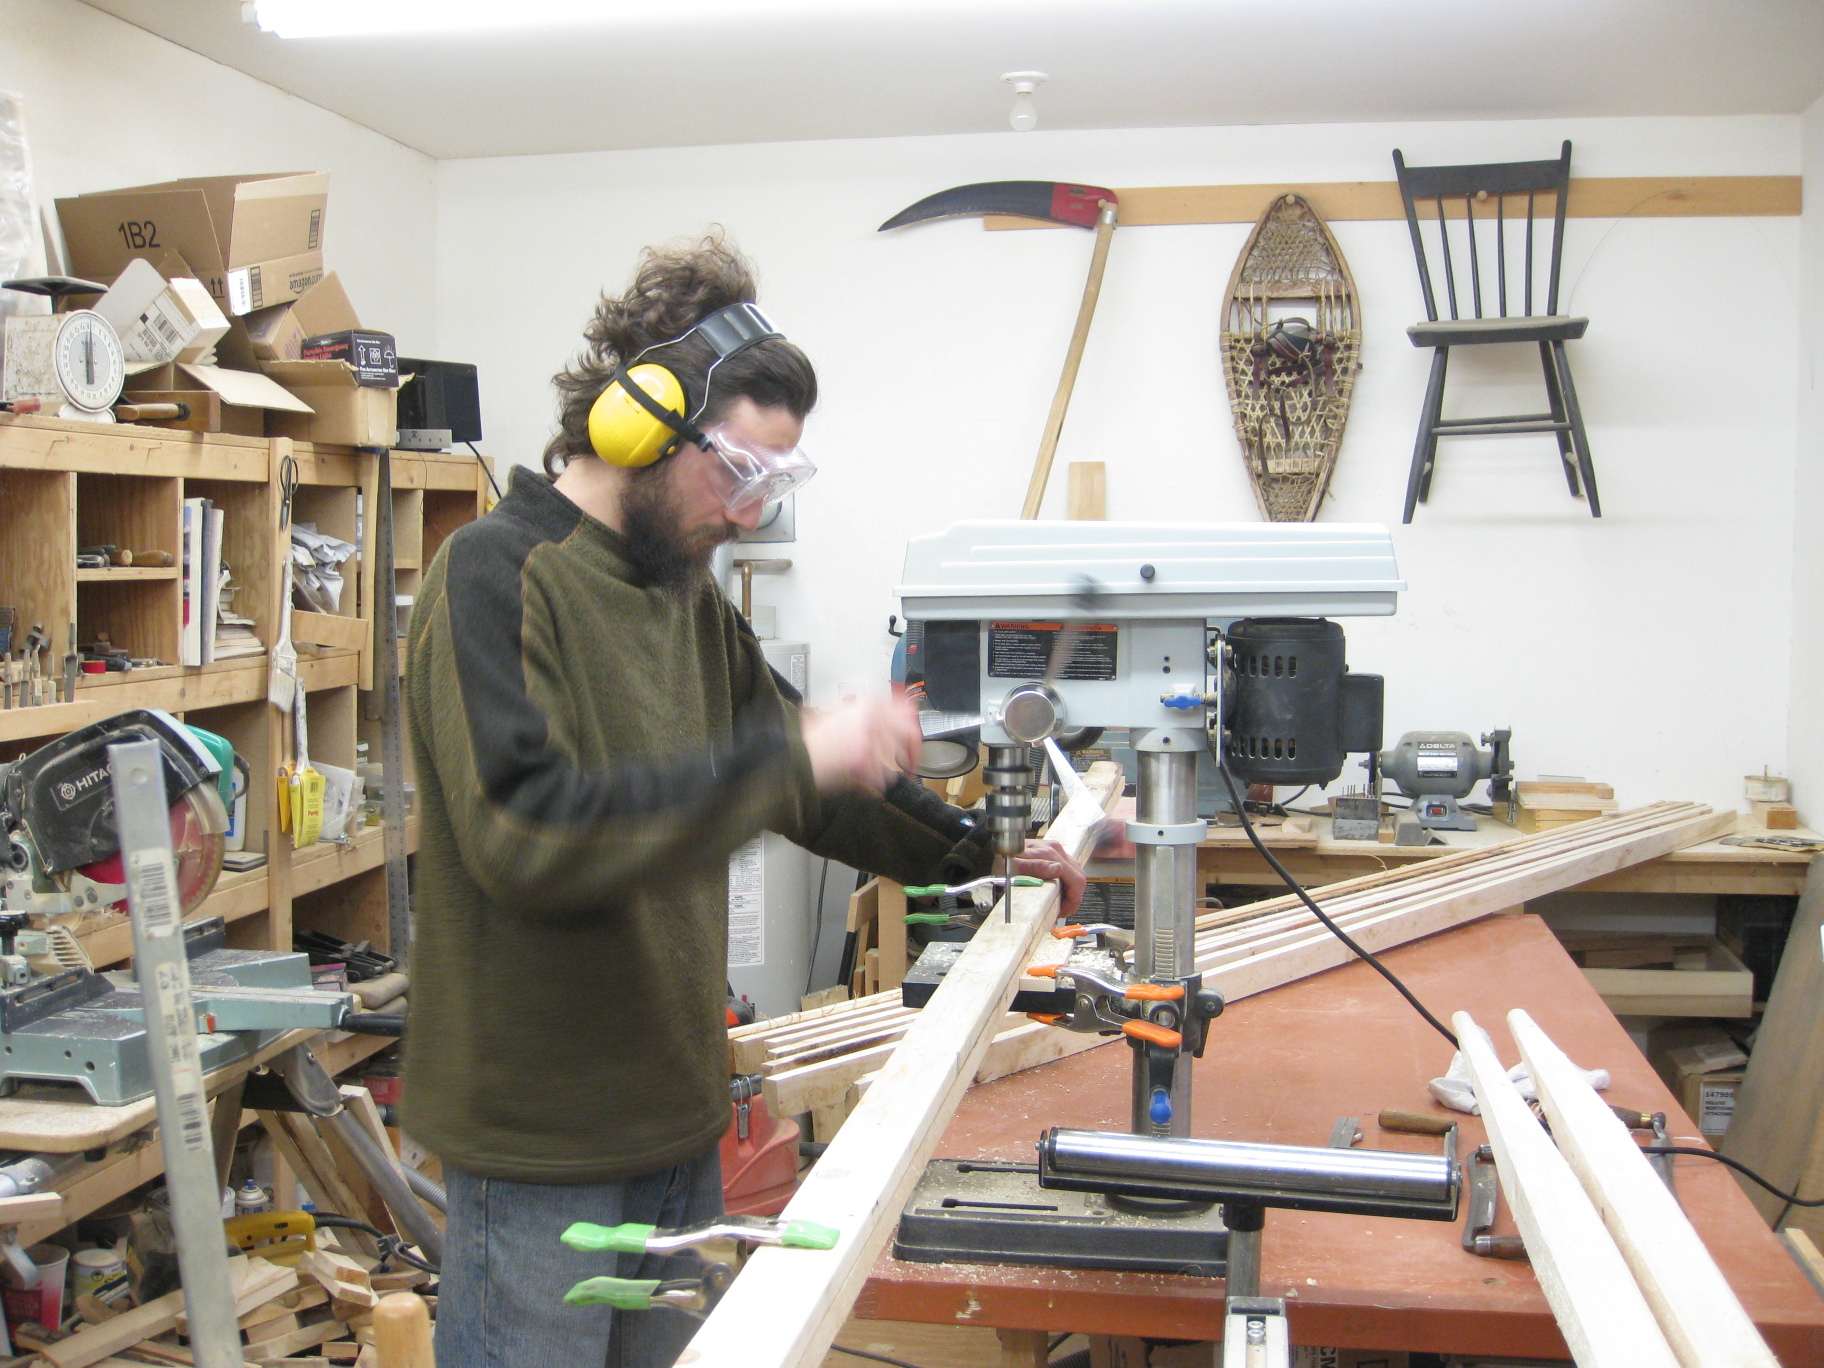
While I've been busy sewing, Dad has also been hard at work on the crown or Tono. This is the circle at the top of the yurt that all of the roof poles attach to and where light shines down in a lovely fashion which is part of what makes a yurt so awesome. Also, it is where a chimney will come out if we end up spending a winter in there. The pictures below show Dad drilling holes at a 32 degree angle for the roof poles using a wooden jig that he made and the top part of the crown that will attach to the piece he is drilling. Spacing the holes was a bit tricky so we ended up with one more than we should have, but no worries! We'll just add another rafter. Yurts are so forgiving.


In the name of full disclosure I feel that I have to add a note stating that I have not spent every minute of my time working on the yurt (oh, the guilt!). I also spent a day at my aunt Robin's and she taught my aunt Wendy and I the art of Japanese braiding called Kumihimo. Now I am super excited for the Japanese-Mongolian fusion that will be our yurt decorated with beautiful braids!! Not to mention all of the great gift possibilities...
And, Mom also took the time on Tuesday to teach me how to make a ruffly nuno felt scarf. Not sure I can really link this to the yurt except to say that I will be a very stylishly dressed occupant of a yurt.


Cold Fingers, But Lots of Progress
by jericho | January 21, 2012 at 11:44 AM | categories: yurt, building, vermont | View CommentsI forgot how tiring working in the cold can be. At first, I was feeling very wimpy for being exhausted after a day spent using a power drill, but then Mom reminded me that my body is working hard just to keep warm all day (thanks Mom!). It is similar to that wonderful dreamy exhaustion that I always attribute to evenings after a day of downhill skiing, but even better because I know that I have gotten some really good work done. This week, that "really good work" was getting the platform done!
On Tuesday, Dad and I drove down to Varney and Smith's in Lisbon, NH (but basically in Littleton) to pick up the dense pack cellulose blower, a bunch of cellulose, and some insulweb fabric. The insulweb (which it turns out is pretty much exactly the same thing as agricultural fabric, or row cover) got stapled to the uncovered side of each platform piece (as shown below) so as to create a cavity that we could fill with insulation.


When one is attempting to install "dense pack" cellulose the idea is to pack in about 3.5lbs per cubic foot. The blower (big blue box shown above) didn't have any kind of button labelled "3.5lbs per cubic foot" and also didn't come with any kind of manual so Jean-Paul called the company to find out if there was anything special that we needed to do to make it do "dense pack" as opposed to something else. They said to just start it one third of the way open and see how that goes... Our best bet for something that could be "one third of the way open" was a bright orange metal piece toward the base of the machine that could slide in and out so we went with that.
Of course, that really only determined the rate at which the cellulose was leaving the machine and the only measure of how much we were actually getting into our platform was the "pressing down" measure. In other words, press down on it and see if it feels full enough. All a bit vague really.BUT, we did it!


Then we just had to put the final pieces of plywood over the top of the cellulose to seal it all in and voila! A yurt platform! Well, at least the segments for a platform. We will put it all together when we get ready to put up the yurt.

Speaking of which, in the midst of finishing up the platform we have also been making progress on our wall sections. This is where a part of my brain that has been relatively unused for the past 10 years or so was put to the test. In "The Complete Yurt Handbook" (which we have been using for much of our design) the wall sections for a 16 foot yurt are only 5 feet high. We envisioned much head bruising as a result of not stooping down quite far enough to get in the door so we decided to raise our walls to 7 feet. This meant not only longer full-length strips of wood, but also a different number of full-length strips and all different measurements for the shorter lengths as well. After much trigonometry and graphing we finally came up with some approximate measurements to test out. In the pictures below you can see how we laid out the lattice in order to check and see which strips needed to be longer or shorter.


Then we made a full cut list and on Thursday I was able to get all of the strips cut out. Now they just need to be drilled and then let the assembling begin!
With only one week left in January, it is looking like we won't quite finish this up by the end of the month, but we are getting close. With warmer temperatures forecast for Monday and Tuesday this week we should be able to get quite a bit done before JP heads to California for work. Now that our canvas has arrived (just yesterday!!) I will get that started next weekend and then hopefully we can set everything up when he gets back so that we can fit the canvas and put the finishing touches on our future home. Enjoy the winter weather everyone! -Jericho

Platform Construction
by jean-paul | January 16, 2012 at 10:00 AM | categories: yurt, building, vermont | View CommentsOver the last week we've gotten a whole lot done on the yurt - in fact, the platform is almost completely done.
In the last post, Jericho mentioned we're building 13 "pie pieces" to use as the yurt platform. Here's a visual aid to help explain that:


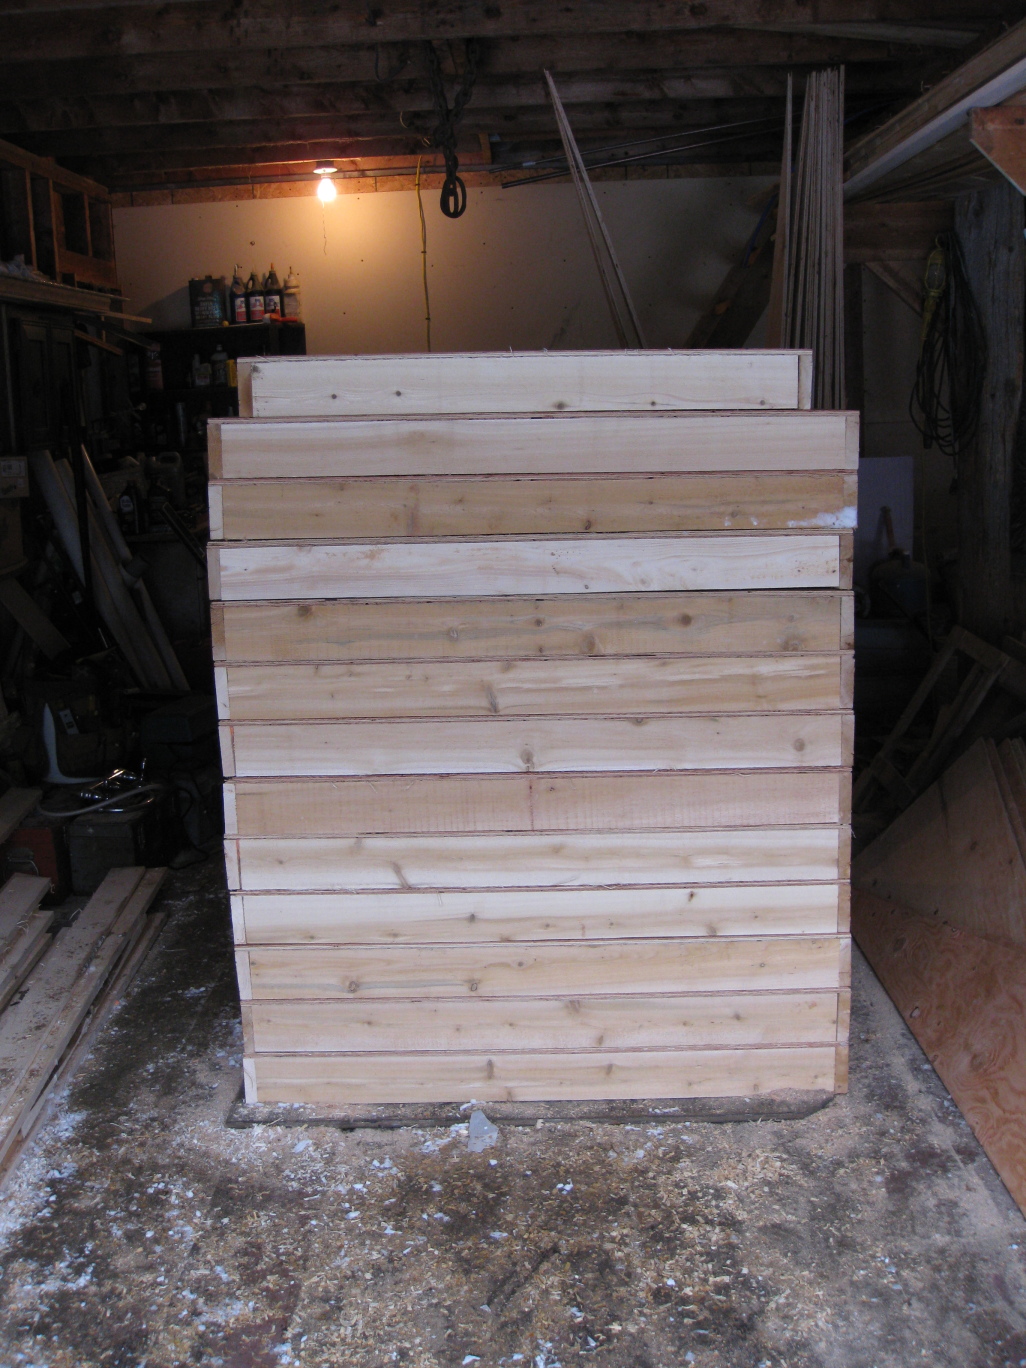
We made twelve of these out of twelve sheets of plywood. They're eight feet long and four feet wide at the base. Jericho used a circular saw and a track to cut triangles out of the plywood:

Then we screwed 1x4s onto the edges, and a couple more pieces in the middle to provide additional support:


After cutting a triangle out of a piece of plywood, there are two pieces left that can be combined into another triangle of the same size. We'll use those pieces to cover the opposite (bottom) side of each pie piece.
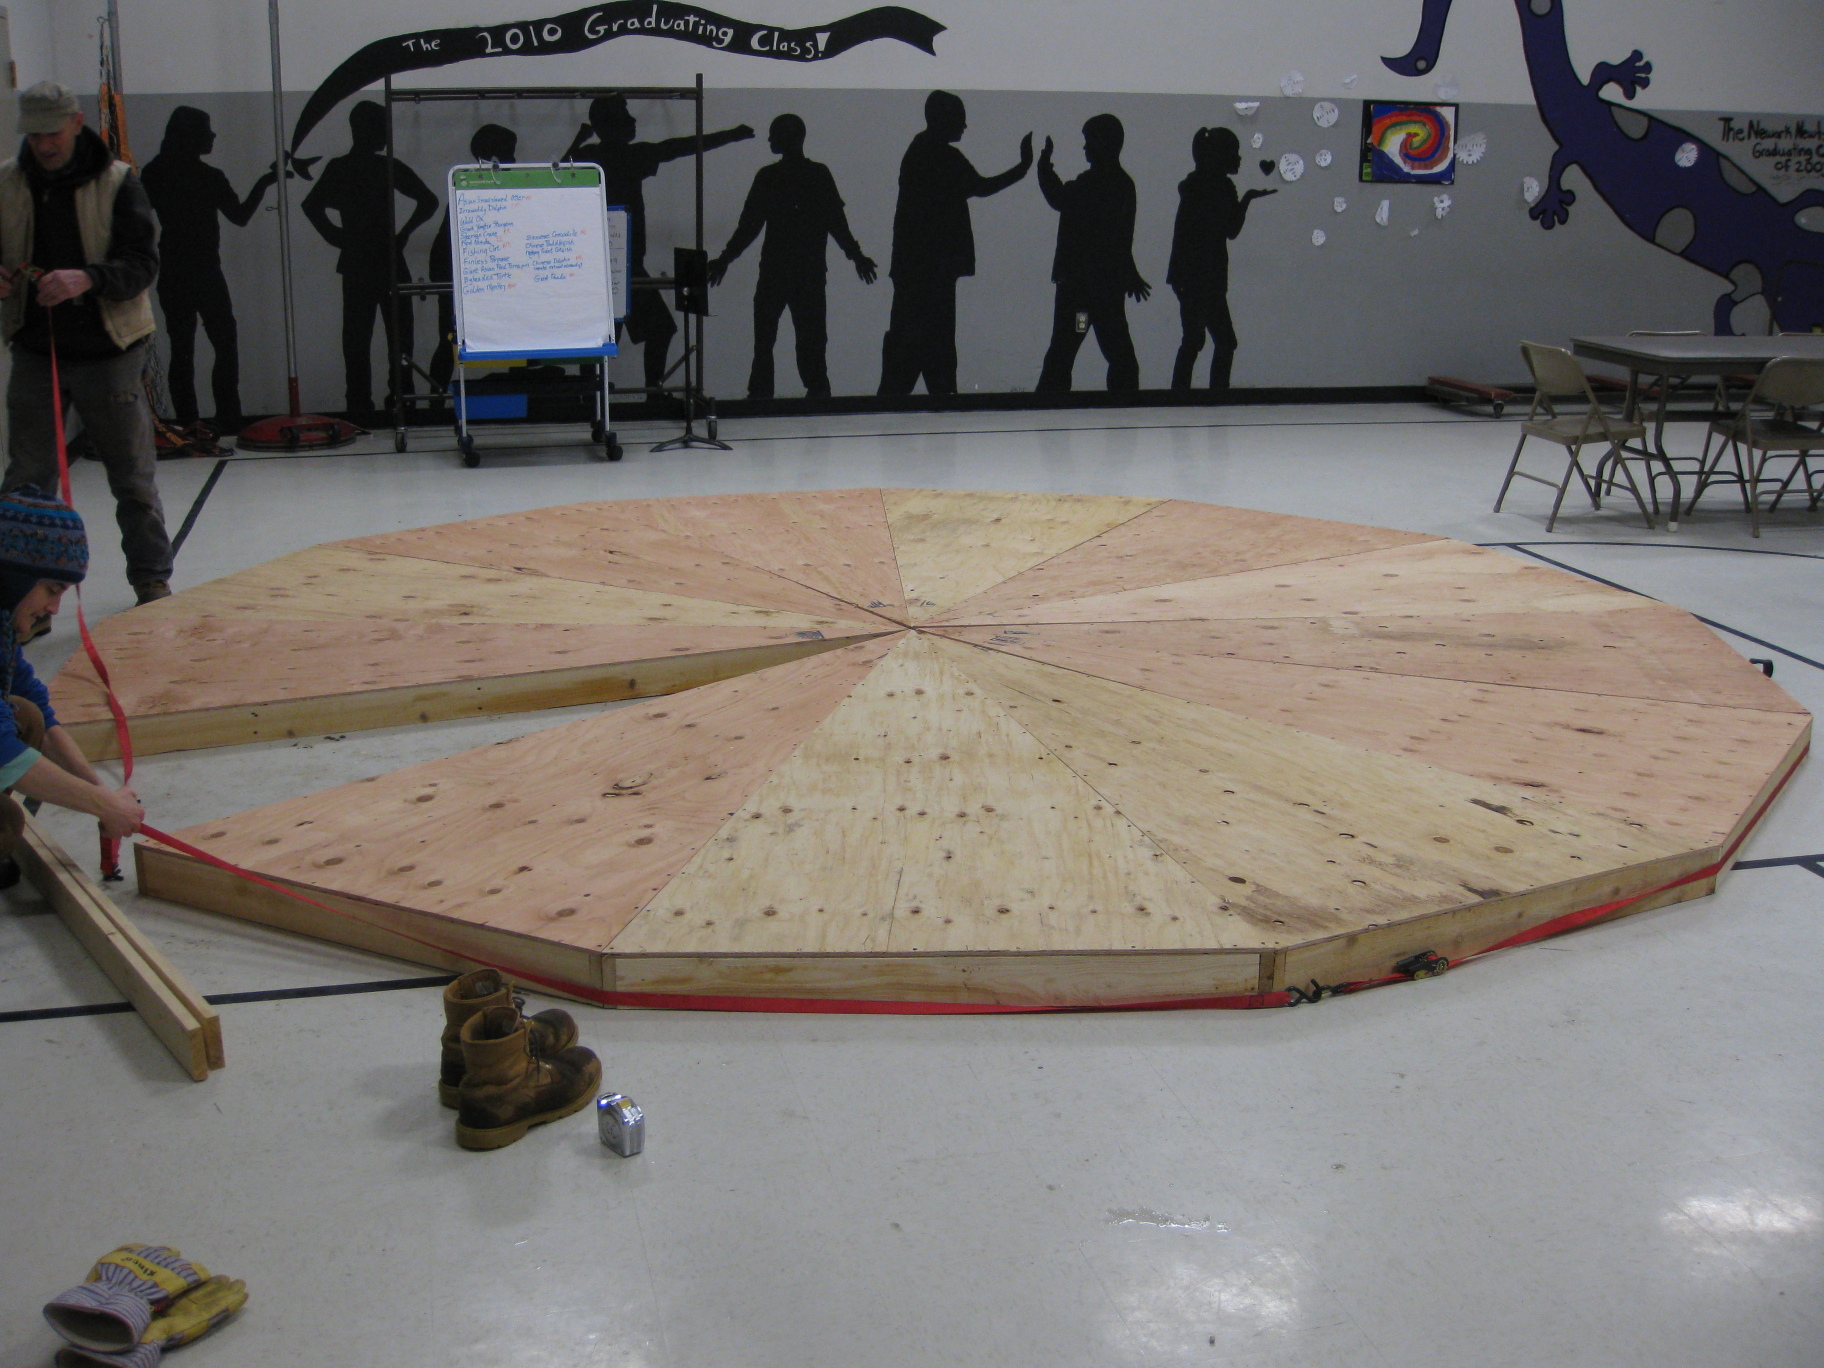
Twelve of these don't quite make a complete platform, though. We need one more, but it doesn't come out to be the same size as the others. To determine how big to make the last piece, we loaded up the first twelve on Jim's truck and brought them to Newark school's multipurpose room (it's not just a gym!):

At the school, we set up the platform and measured the size of the gap:
Then we loaded them all back up, brought them back to the garage, and assembled the final piece. Now we have all 13 pieces of the platform.
We still need to do a few things to each of these. We're insulating them with dense-pack cellulose, so we need to cover the open side, blow the cellulose in, and then screw on the remaining pieces of plywood. The plan is to take care of those steps this week - and then the platform will be completely done!
Cellulose seems like a pretty awesome insulation material. Dense-pack has an R-value around 3.8 per inch (we're doing 4 inches, so our floor will have an R-value of around 15, plus whatever minimal contribution the plywood makes), plus it remains effective at sub-freezing temperatures (whereas fiberglass loses some of its effectiveness). The cellulose is 100% recycled newspaper, it's much less expensive than most other kinds of insulation (partially because much, much less energy is needed to make it), and it's a lot safer to work with and be around than some of the alternatives. Plus, blowing it into the platform pieces requires playing with a big machine.
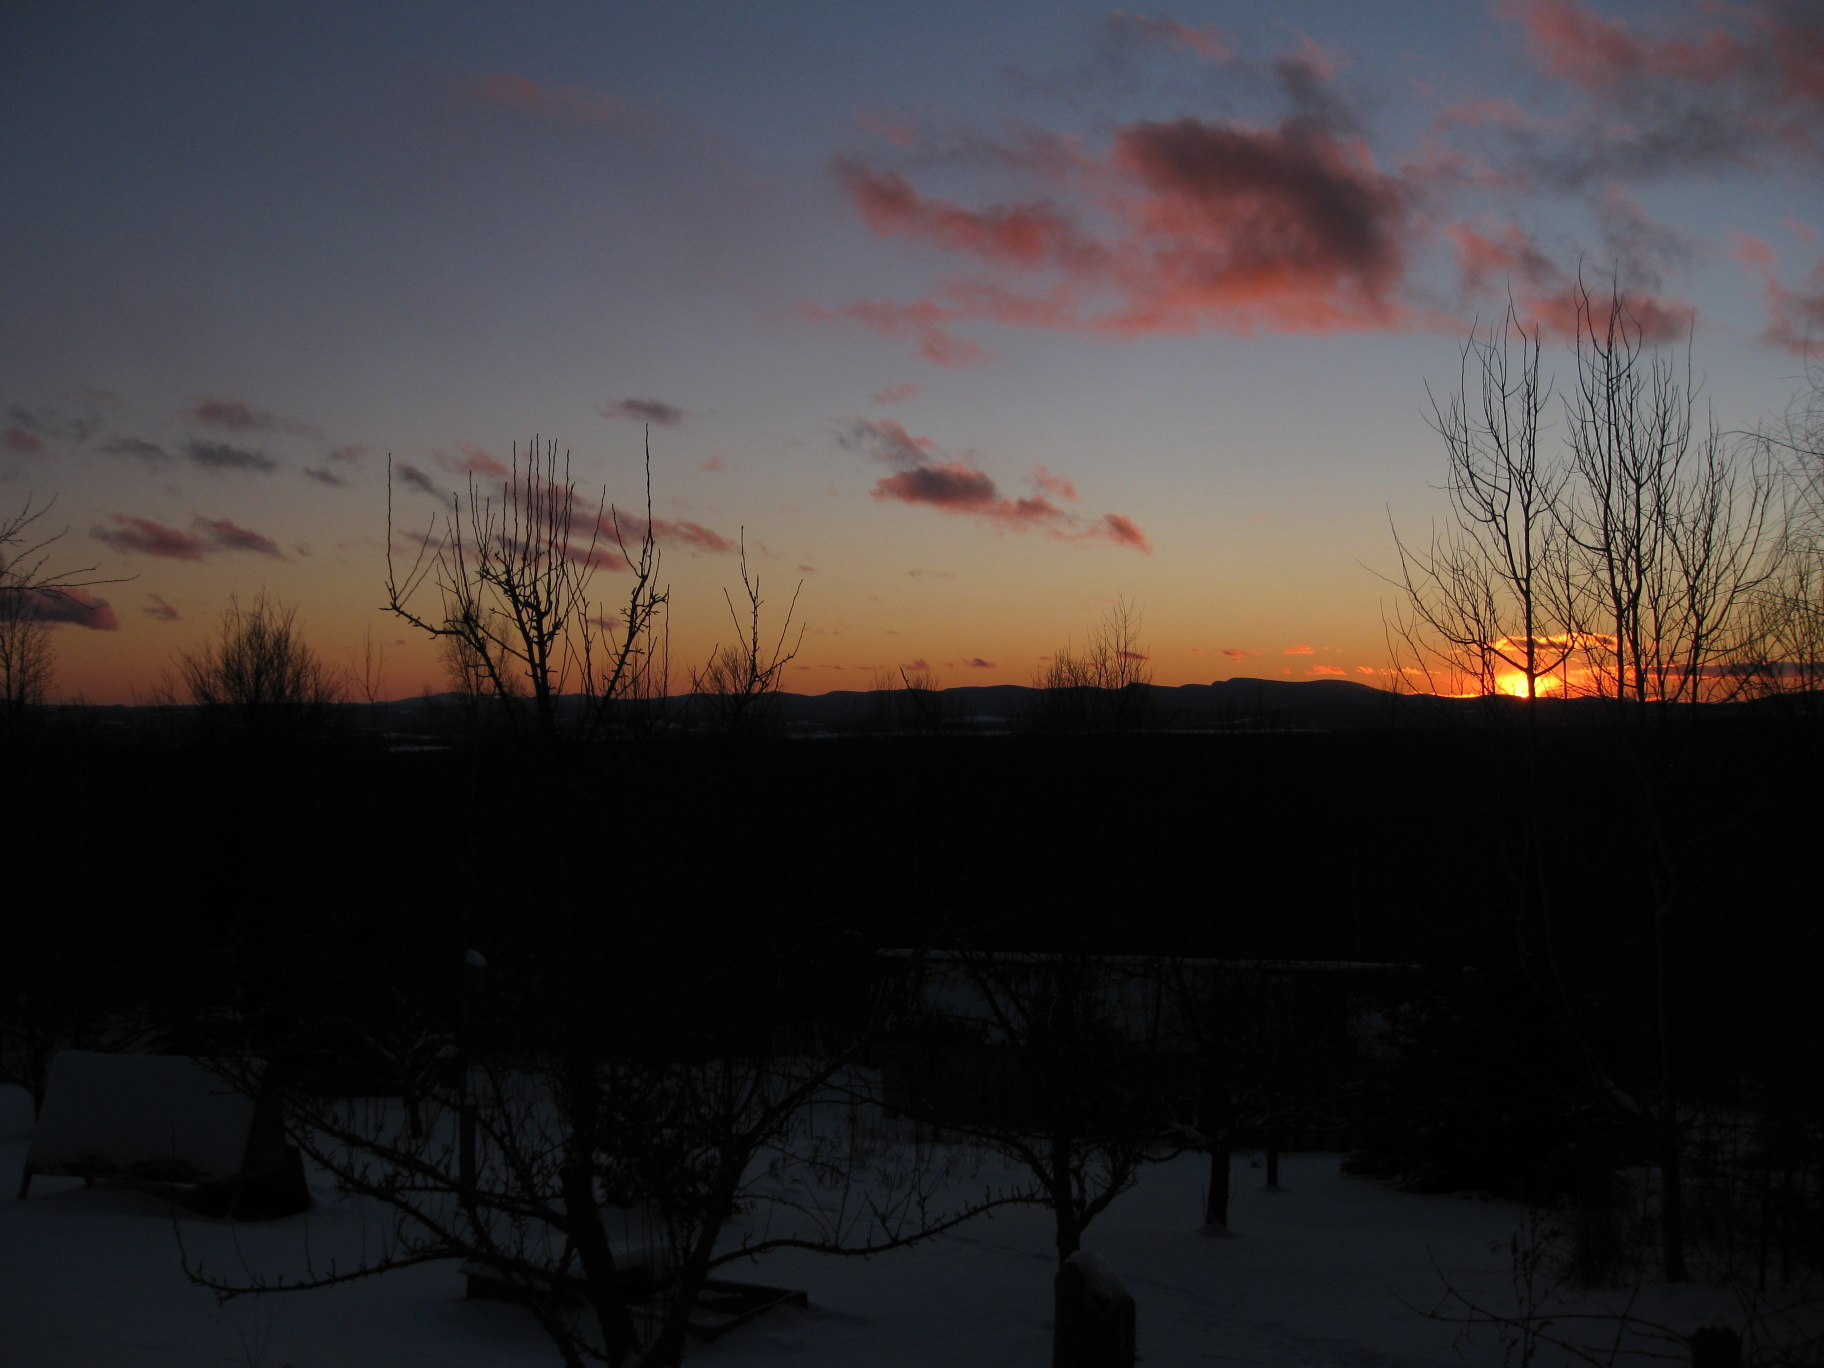
Concurrently with all of that, we've actually gotten a bit of snowfall and accumulation here in the Northeast Kingdom:
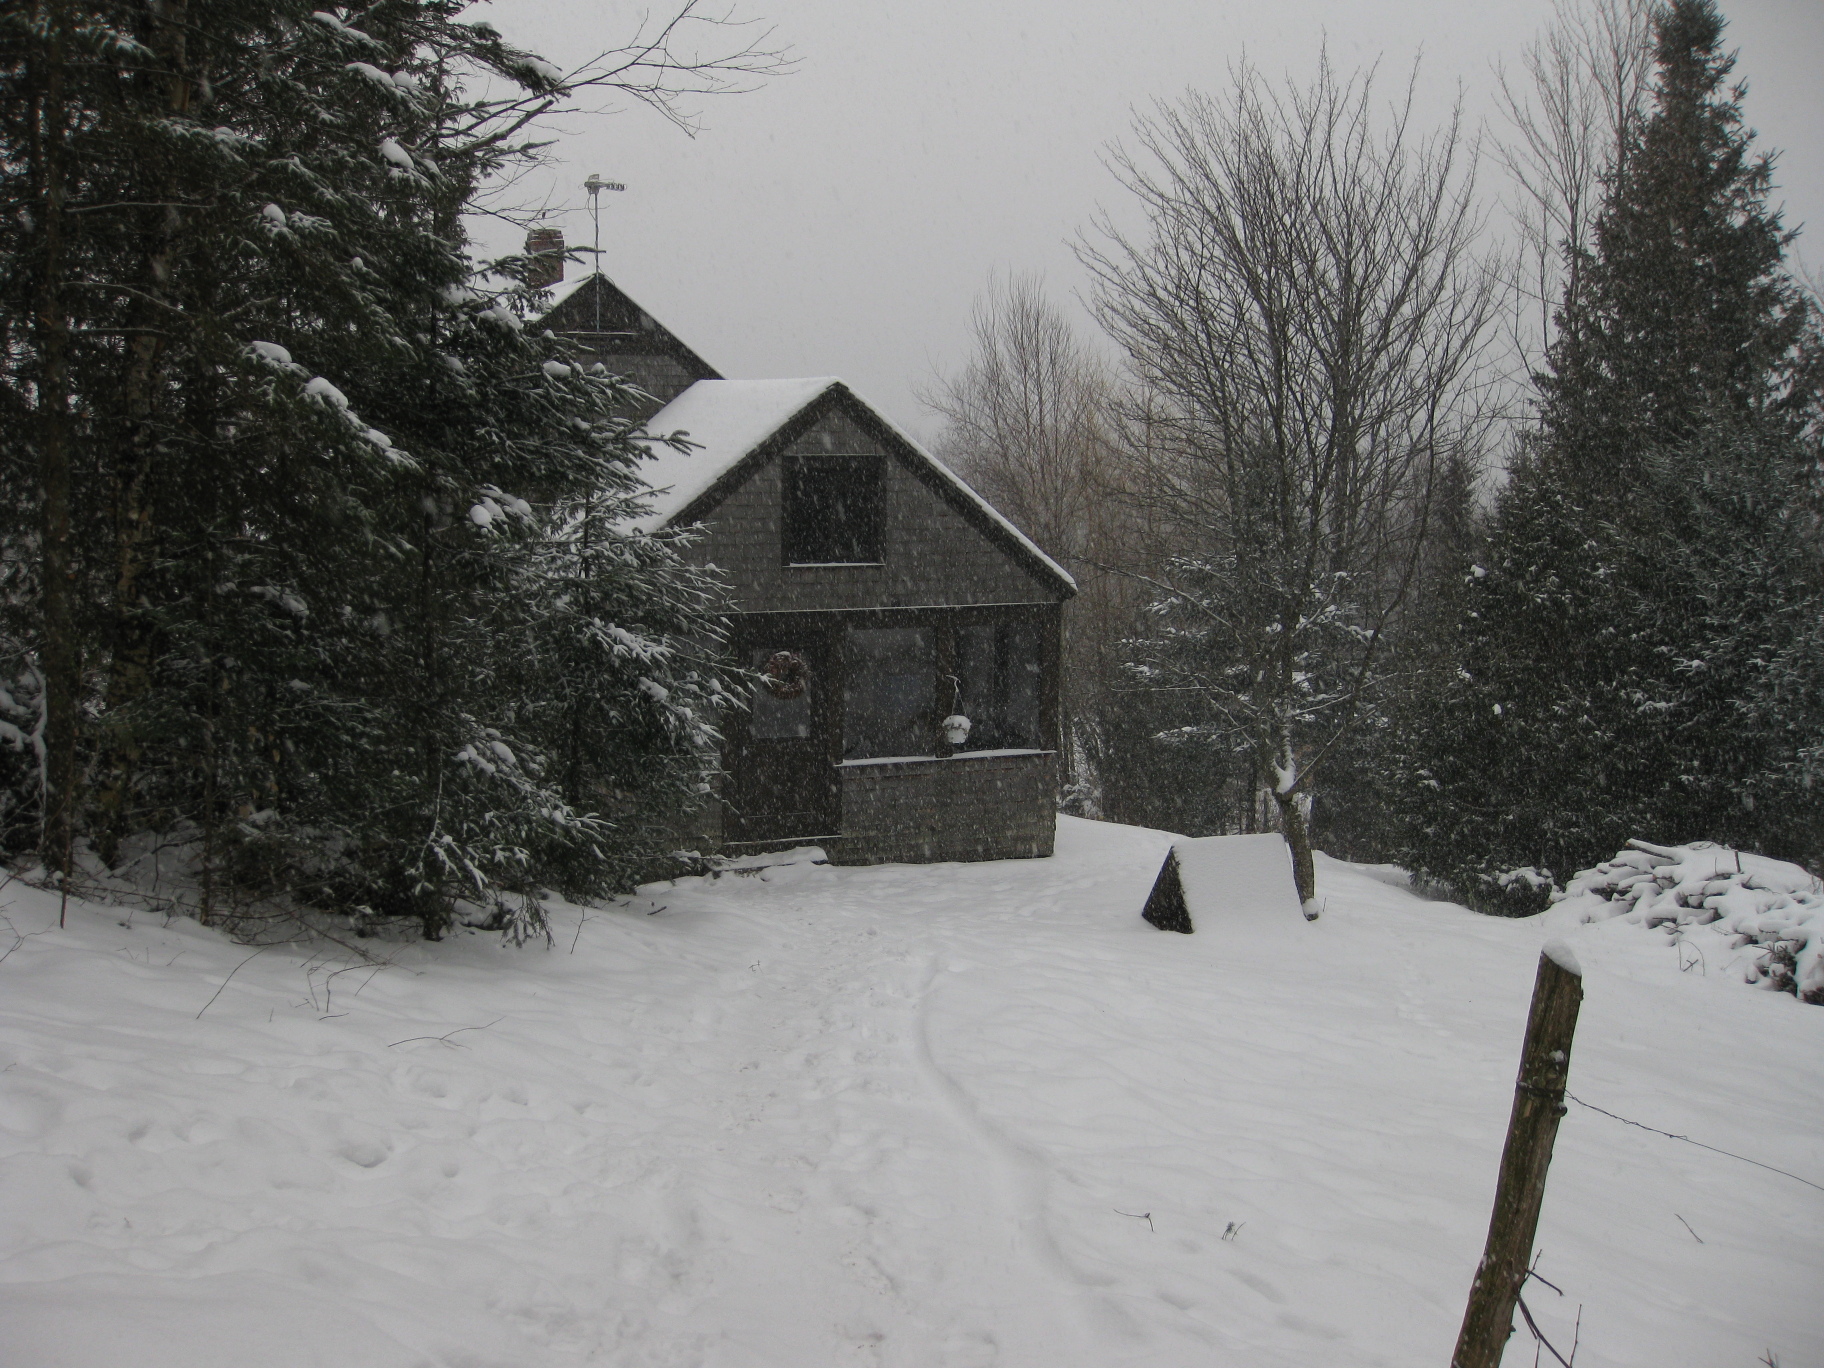
It actually feels like winter most days now. Of course, it was nice when it warmed up a bit, since most of the garage where we're working is unheated. Fortunately the next step of yurt construction mostly involves working in Jim's heated workshop, so we can appreciate the snow and not freeze our fingers.
We've also been working on the khana, cutting the lattice pieces and drilling holes in them.
The longest pieces are nine feet six inches and need nine holes drilled them (for a total number of holes somewhere around 500 - thank goodness for power tools). We diverged from the original plan a bit to make the walls seven feet tall, so we've had to figure out the number and size of these pieces ourselves (a task involving a lot of graph paper, calculators, and time). We're converging on a final design, so now we just have a lot more cutting and drilling to do.
« Previous Page -- Next Page »